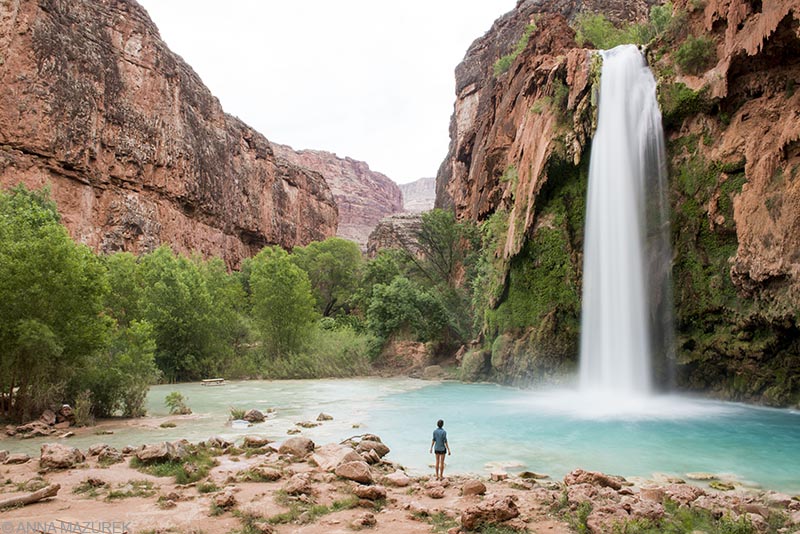
I got up early to do a long exposure of Havasu Falls at sunrise without all the people.
A Photo Guide to the Havasu Falls Hike
Last October, I was having lunch in Santa Fe with three friends and eating my weight in sopapillas. By the end of lunch, we set plan for one of the best hiking trips of my life. It started almost as a joke like most of my crazy adventures, but I was determined to make it happen.
Our goal was simple—to hike to Havasu Falls, a stunning blue green waterfall located in the Grand Canyon on the Havasupai Indian Reservation in Arizona. We set a date for the trip, my friends requested the time off work on their phones right there at the lunch table and we made a plan – May 2018. The only thing standing in our way was the permit.
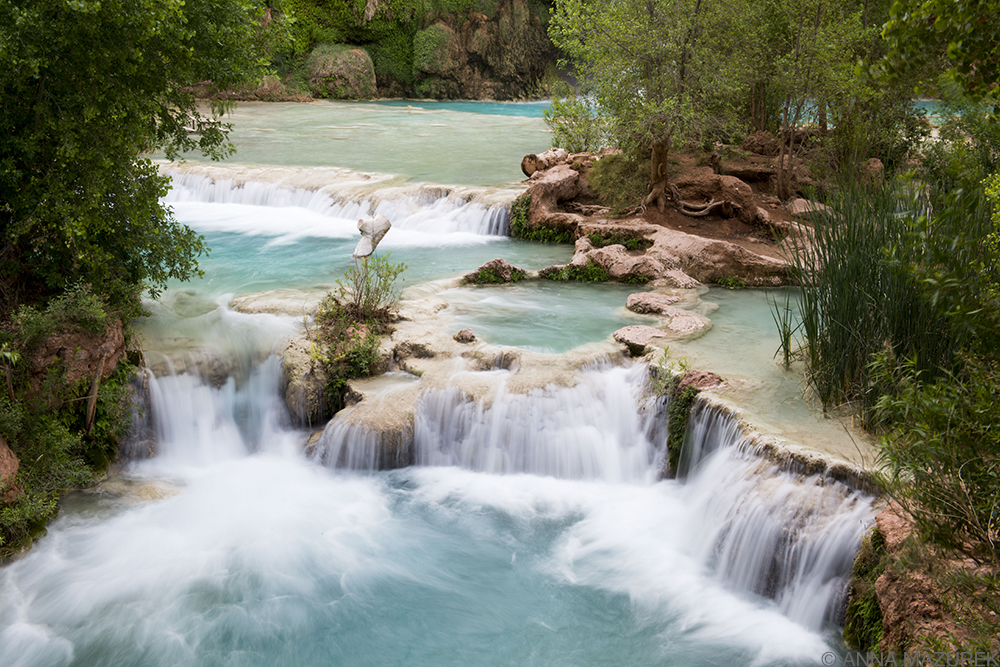
A long exposure of the small rapids at the foot of Havasu Falls at sunrise.
How to Get a Permit for Havasu Falls Hike
The hardest part about hiking to Havasu Fall is getting one of the elusive campground permits, which usually sell out in less than three hours each year. (The campground only accommodates 300 people and no day hikes are allowed. Permits go on sale on February 1st MST each year. Reservations are made by phone (928-448-2121) or online at https://www.havasupaireservations.com.
Three of the people in my group called the instant the permits went on sale but only got a busy signal. (I was in South America so I couldn’t call.) We all tried getting through on the website with no luck initially. I was using Safari as my web browser. Then, I opened a new browser window in Chrome and was able to get through! This was only a few minutes after they went on sale. Our first choice of dates wasn’t available so we shifted our hike back by a day.
Before permits go on sale, be sure to have a set list of dates along with several alternatives for your hike. It’s really important to be communicating with your hiking buddies the day they are released. The person who gets through needs to pay for everyone in the group. You need to include two names on the reservation. One of these people must show their ID at the office. If you have a friend who is flakey, DON’T put their name down.
Camping/Accomdation Prices for Havasu Falls
[Please note these are the 2018 prices. 2019 prices haven’t been announced yet.]
One Person, 2 Days / 1 Night: $140.56
One Person, 3 Days / 2 Nights: $171.12
One Person, 4 Days / 3 Nights: $201.67
There is a surcharge of $18.34/night for weekends (Friday through Sunday) and holiday weekdays nights including Spring Break.
Havasupai Lodge
If camping isn’t your style, you can stay at the Havasupai Lodge. These reservations are even harder to get than the campground. Lodge reservations go on sale every year on June 1st for the following year. I don’t recommend the lodge because it’s a good hour hike away from Havasu Falls. Plus, the people I met said it wasn’t worth the price ($145/night plus $40 per person for permit).
For more information, visit http://theofficialhavasupaitribe.com or call 928-448-2121. Office hours are 9 a.m. – 3 p.m. MST on weekdays. It’s very hard to get a person on the phone, but the earlier you call in the day, the more likely someone will answer.
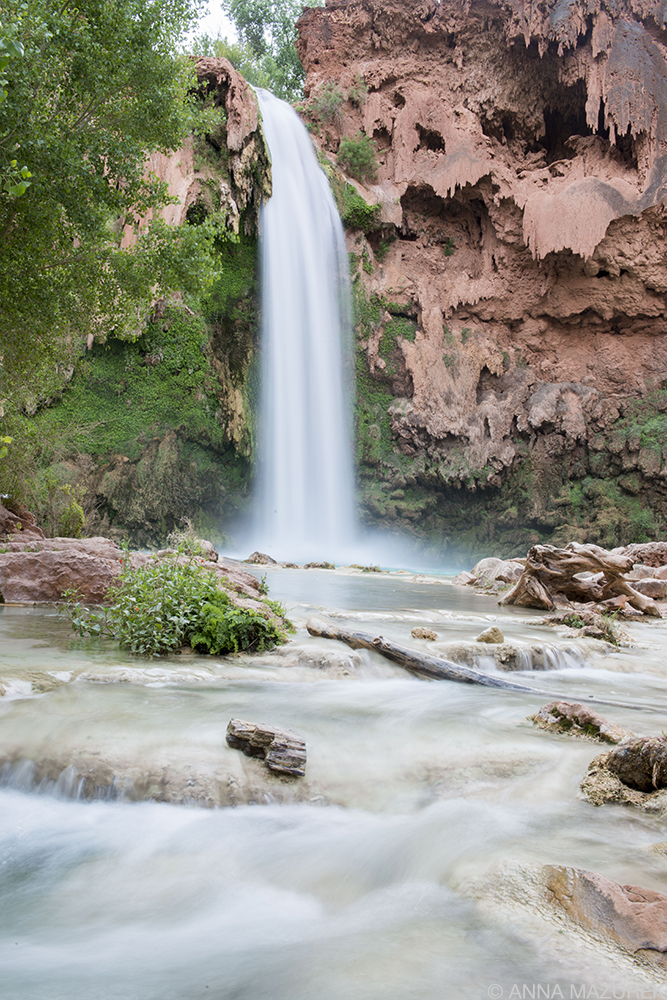
A long exposure of Havasu Falls
When to Go to Havasu Falls
My friends and I hiked in May, which is what I recommend. It wasn’t too hot during the day and the nights weren’t cold. The water in the falls was cold but still okay for swimming. The monsoon season runs from June to September 30th. The monsoon is no joke–a July flood closed the campground and trail until September 1st this year! The temperatures during the day soar over 100 degrees Fahrenheit in the summer months.
If you go during the winter months, it will be too cold to swim. The campgrounds area closed during December and January. Peak season is March through October. Avoid hiking during the heat of the day. I recommend hiking in at sunrise and out early in the morning. (We hiked in at 6 a.m. and started hiking out at 3 a.m.)
How to Get to Havasu Falls
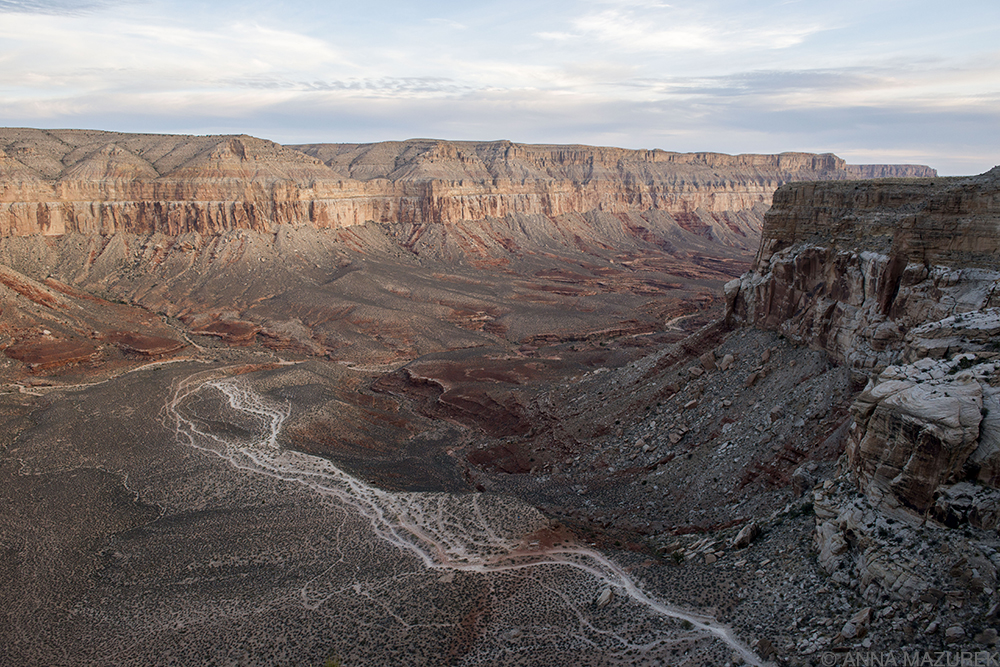
The view from Hualapi Hilltop, the starting point from the Havasu Falls trek in Arizona, overlooks a string of well-worn hiking trails. The trail begins with a series of switchbacks before flatting out in Hualapai Canyon below.
Hualapai Hilltop Trailhead
The trailhead is located 68 miles from Route 66 near the tiny “town” of Peach Springs, Arizona. It takes a good hour or more to drive from Peach Springs to the trailhead. The night before our hike, we stayed at the Hualapai Lodge, the only hotel in Peach Springs. It’s roughly $150/night, which we split four ways. (To save $25 off your reservation, use this referral for Booking.com to book the reservation!)
We woke up at 2:30 a.m. to pack and drive to the trailhead. The tiny parking lot was already filled and cars were parked along the side of the road! By the time we parked and got organized, it was nearly 6 a.m. The sun was over the rim of the canyon by 7:30 a.m. (This was in early May.)
The trail drops roughly 1,500 feet in the first 1.5 miles through a series of switchbacks. We made it to the bottom of the switchbacks in 45 minutes after stopping to take a lot of photos. The trail is mostly flat the rest of the way with only a slight decrease in elevation.
After the switchbacks, you enter Hualapai Canyon. This area is exposed so it will be brutal in the summer months and dangerous during the monsoon season due to flash flooding. Check the weather and plan accordingly. Start hiking before sunrise to avoid the heat of the day.
Overall, the path is easy to follow. There’s one main well-worn path with a few that branch off here and there. But, the ones that branch off meet back up with the main path fairly quickly. There will be plenty of other hikers as well so it’s rare to get lost unless you miss the sign below.
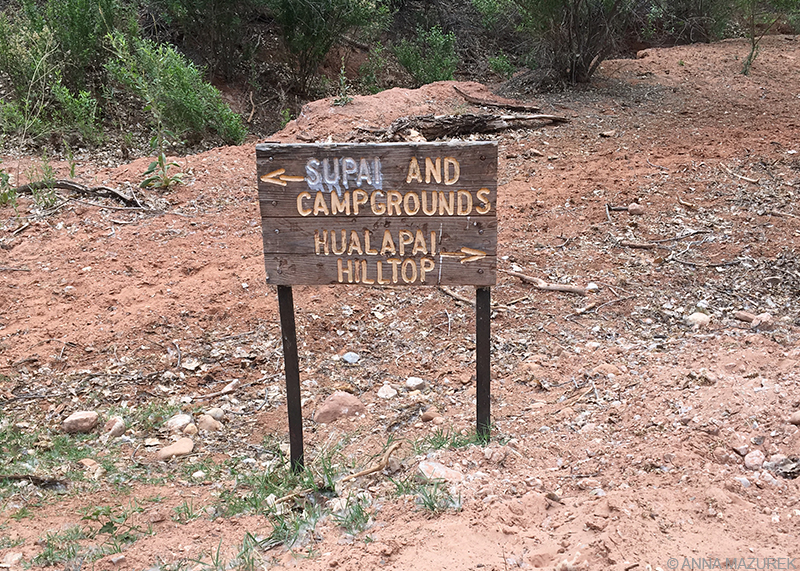
The most important and only sign on the trek is the one located where Havasu Canyon meets Hualapai Canyon.
The most important part of the trail is to be sure to turn left when you see the wooden sign in the photo above. This is where Hualapai Canyon meets Havasu Canyon. Once you turn left, you follow the creek until you cross over a bridge to the other side to enter the village. It took us 20 minutes to walk from the sign to the village.
Supai Village (Mile 8)
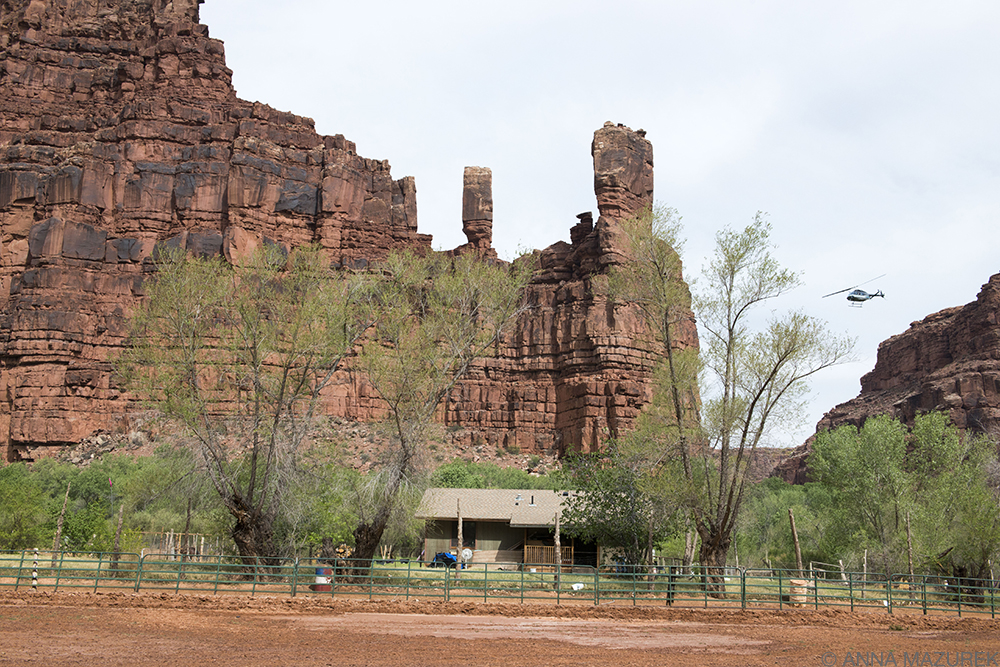
A helicopter leaves Supai Village on the Havasu Falls trek in Arizona. From March to October, the helicoptor operates four days a week from 10 a.m. to 1 p.m.
We reached the village at mile eight, spent about an hour walking around and picked up our permit from the tourist office, a green building on the left that you can’t miss. It’s a good idea to bring a print out of your permit. Be sure to pick up the maps and other helpful information they give you. The town was surprisingly large for such a remote place. There’s a helicopter landing pad for those who don’t want to hike in.
From the office, it was about an hour (two miles) to the campground. The path is marked clearly through town. Follow the main (and only) road then turn left at the church to continue on the path.
Navajo Falls & Fifty Foot Falls (Mile 8-9)
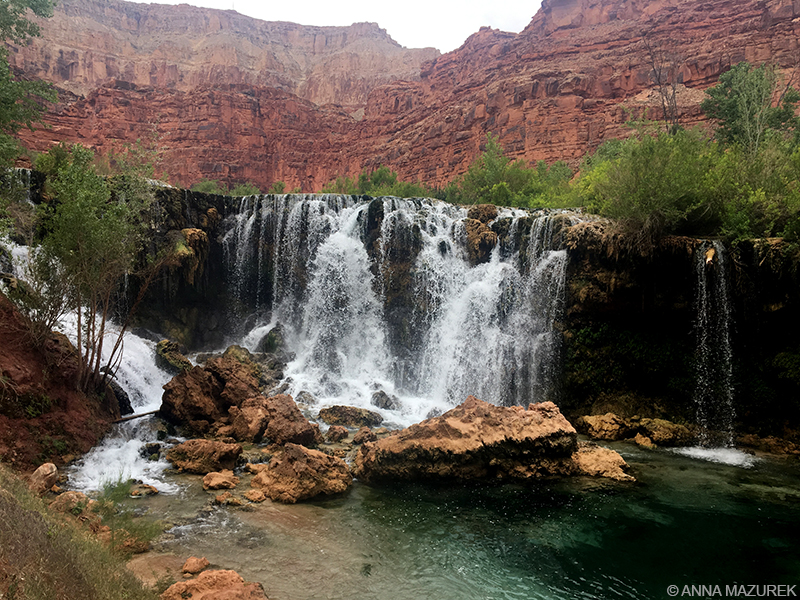
Fifty Foot Falls is located just outside of the village of Supai
The first waterfall after the village is Navajo Falls. It’s off the trail slightly so it’s easy to miss. It’s nice but not as dramatic as the others in the park. It’s 300 yards up from Fifty Foot Falls. Refer to the maps you were given at the tourist office.
Havasu Falls (Mile 10)
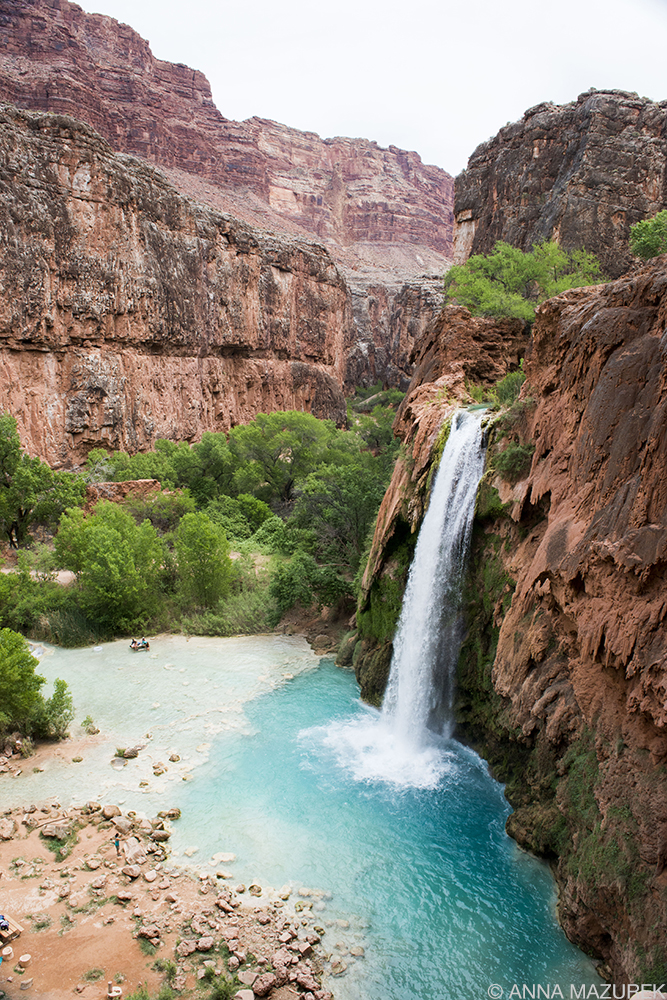
The first view hikers see of Havasu Falls is from trail above the falls.
The star of the hike is Havasu Falls, which is two miles from the village. You can’t miss it because the trail passes right beside it. There’s a small trail that takes you to the base of the falls that’s a little steep. It’s best to take photos from the top, go drop off your backpack in the campground then go back for photos at the foot of the falls.
All of the waterfalls are part of Havasu Creek, which is fed by a natural spring. The turquoise color is the result of the water being stored underground for thousands of years. The water absorbs minerals from the limestone, which reflect sunlight to create the turquoise color.
Campground
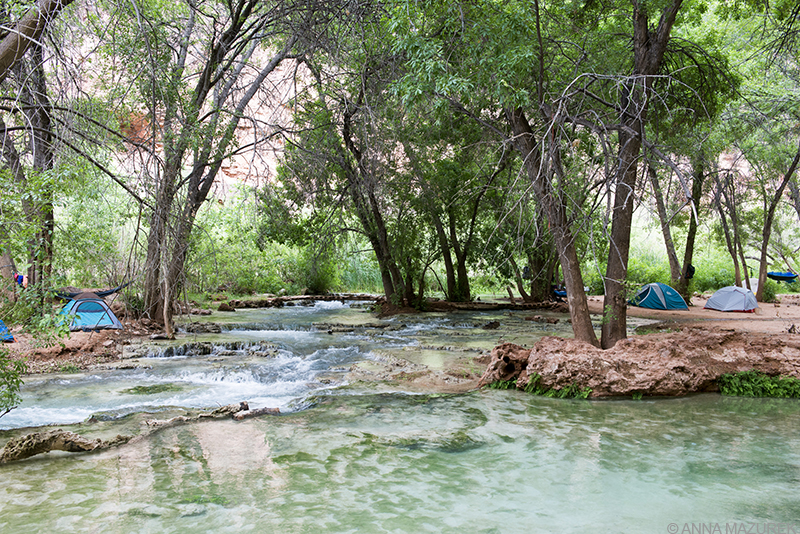
The campground is huge and covers both sides of the creek.
The campground is surprisingly large and spread across both sides of the creek. There’s plenty of trees for putting up a hammock. There are picnic tables spread around the grounds. We choose a spot by the entrance by two picnic tables that was near the bathrooms. It was a quiet spot yet close to the falls for easy access for photography. The spring for drinking water is closer to the front of the campgrounds but easily accessible. It took us five hours to hike to the campground from the trailhead and less than four hours to hike out. (We stopped to take a ton of photos on the way in and spent an hour in the town.)
Mooney Falls
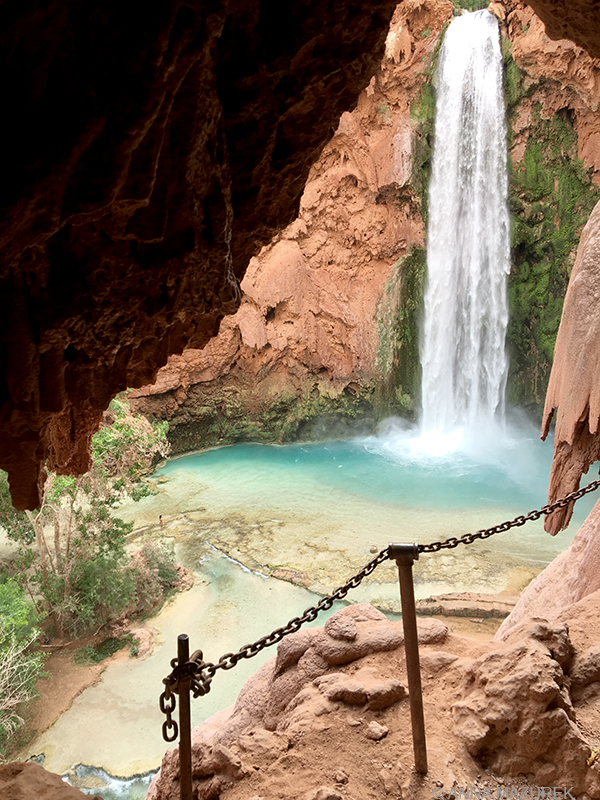
The trek to the base of Mooney Fall is an adrenaline-pumping adventure of shimming down 200 feet on ladders ropes and chains.
Mooney Falls is the tallest of all the waterfalls in the park. The top of the falls lies at the far edge of the campground. The climb down to the base of Mooney Falls isn’t for the timid. It’s a 200-foot drop through a small cave followed by series of ladders and chains that are perpetually wet from the mist from the falls. This is a very scary and potentially dangerous climb. There’s often two-way traffic so you are passing people. Make sure both of your hands are free and your pack is as light as possible. Wear your hiking boots—no flipflops or sandals! For a visual idea of the climb down, watch my “Southwest Road Trip” Instagram story to see the whole process.
Beaver Falls
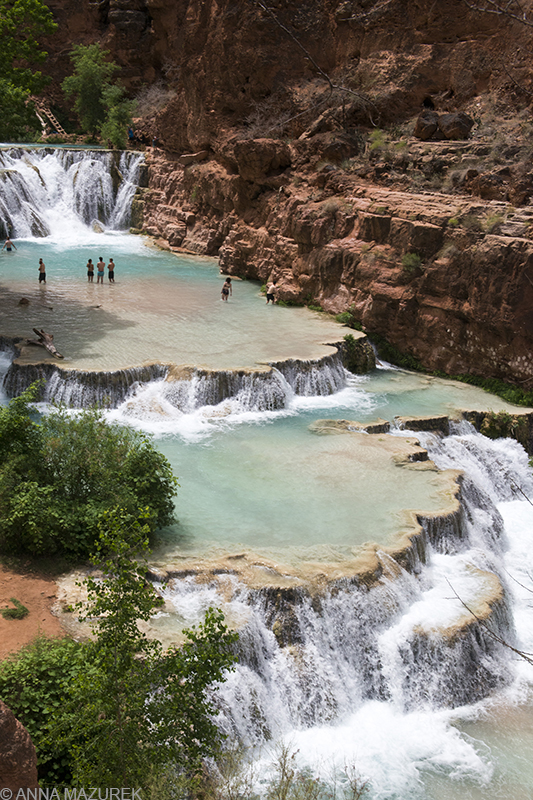
A birds-eye view of Beaver Falls, which is two miles from the base of Mooney Falls.
Beaver Falls is the most remote of the waterfalls. It lies three miles from Mooney Falls. (You have to climb down to the base of Mooney Falls to get to the trail to Beaver Falls.) In some ways, this is the trickiest hike, but the trail is fairly easy to follow. You have to cross the river three times so wear water shoes or be prepared to take your boots off multiple times. The trail can spilt a bit at the water crossings, but the other trails only lead to other crossings that join the same trail. (Again, you are in a canyon so you can’t get that lost due to the canyon walls.)
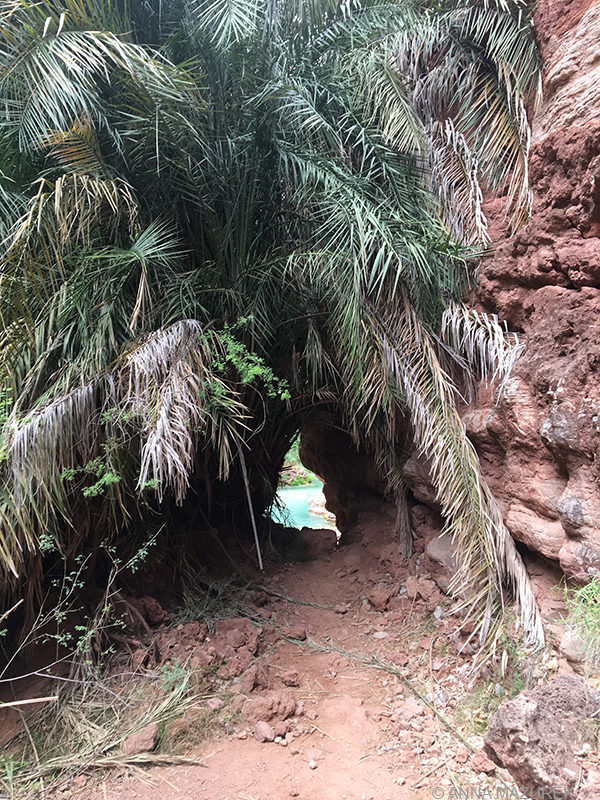
A lone, giant palm tree marks the path to Beaver Falls. There’s a ladder on the right on the other side of the cave that leads to a path overlooking the falls.
Once you reach the lone palm tree, there’s a small cave with a ladder on the right. Climbing the ladder takes you to a view of the falls from above. You can then climb down to the base of the falls from there. You can reach the top of the falls by wading through the water and climbing over rocks but you will be soaked. If you have camera gear that’s not waterproof, take the trail that goes left by the palm tree to reach the top of the falls.
Beaver Falls is huge. You’ll pass a small waterfall on the way—this is not Beaver Falls. Keep on going until the palm tree! It took us two hours to hike from Beaver Falls back to the base of Mooney Falls. The trail is very exposed so start early in the day to avoid the intense sun!
Tips for Havasu Falls Hike
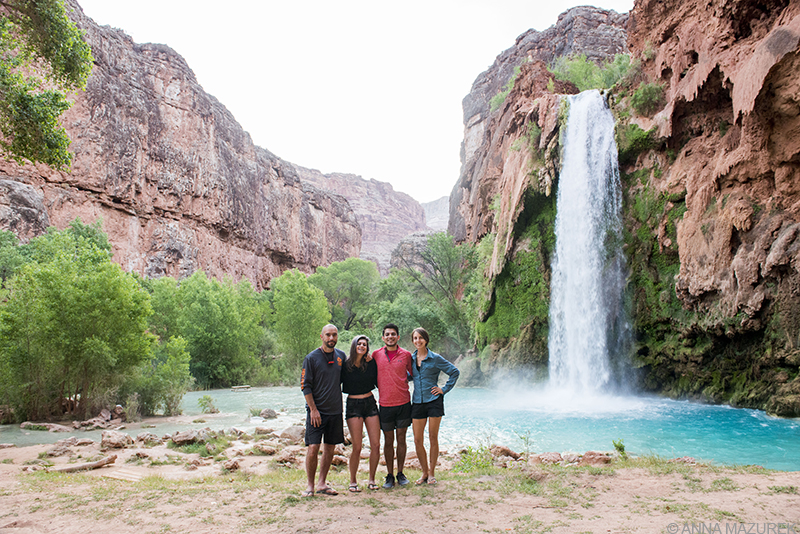
Our hiking crew (left to right): Sean, Bear, Rolando and myself. I would hike anywhere in the world with these guys!
- Stay at least two nights to make the most of the waterfalls.
- No drones are allowed on the reservation
- Take a printed copy of your permit with you.
- Pack out your trash. People bring lots of inflatable pool floats that often get left behind. Don’t do this!
- There’s no cell phone service except a tiny bit in town. The town has WIFI.
- Watch out for mules being herded down the trail.
- We had no issues with any bugs or misquotes in May.
How hard is the hike?
Honestly, it wasn’t hard at all! It’s 10 miles total from the trail head to Havasu Falls and the campground. It’s another two miles to Beaver Falls, which you do with only a day pack. The hike into the falls is all downhill, but the hike out is uphill. The switchbacks at the end are steep, but if you go slow and steady, you’ll be fine. The weather is the only tricky part. Be sure to start hiking EARLY to avoid the heat since most of the hike is exposed without shade. If you do this, then you’ll be fine.
Food & Water
There’s a natural spring in the campground that’s safe to drink. If you have concerns, take a Sawyer MINI water filterwith you. There’s a café in the town of Supai and stalls that sell a bit of fry bread by the campgrounds. It’s better to bring your own food. Refer to packing list below for suggestions.
Bathrooms at Havasu
The toilets were amazing. They were compost toilets, but they were never smelly or dirty. Toilet paper was provided! There was no running water at the toilets, but they had hand sanitizer machines at the ones by the campground. (I’m writing this from Asia and dreaming about those nice Havasu toilets!)
Pack Mules & Helicopters
If you don’t want to hike, you can take a helicopter for $85/one-way to Supai Village. Then, hike two miles to Havasu Falls. You can also ride a pack mule into the village and/or have your luggage carried. It’s $242/roundtrip for a mule. Check with the office for weight limits. Reservations must be made one day in advance.
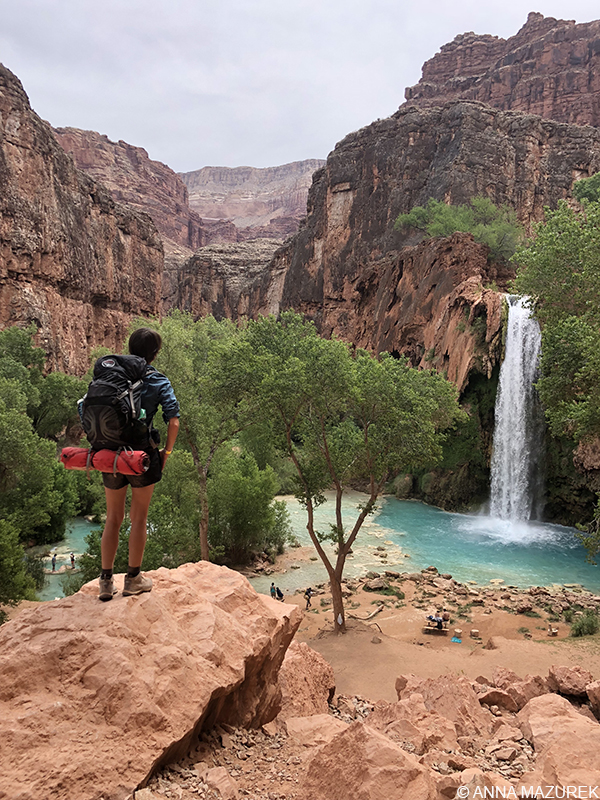
My pack weighed about 20 pounds including my DSLR camera and wide angle lens that weighed 7 pounds.
Summer Packing List for Havasu Falls Hike (Three days & two nights)*
(When it comes to multi-day hikes, I am a super minimal packer since I’m also carrying a DSLR camera that weights seven pounds. I literally hike in the same outfit every day. If you buy quality gear, it won’t smell and will dry quickly.)
- 34-liter Osprey Pack
- Three pairs of merino wool hiking socks
- One hiking outfit (I wore these Patagonia shorts and this Columbia SPF wicking shirt every day of the hike. Refer to photo above.)
- Three pairs of underwear (Only one sports bra)
- Bathing suit
- One sleeping outfit (I took a short sleeve wicking shirt and long tights)
- Sexy wide-brimmed hat
- Water shoes like Chacos or Keene sandals. (I didn’t pack any and was very jealous of everyone who did for the river crossings!)
- Full size quick-dry travel towel
- Two 32 oz. Nalgene water bottles (I normally prefer stainless steel Klean Kanteen bottle but don’t want the extra weight when I hike.)
- Sawyer Mini water filter (Just in case!)
- Lightweight sleeping pad and sleeping bag
- Ultra-lightweight tent
- Lightweight tripod (We used a Manfrotto 496RC2, which is similar to this one.)
- Camp stove
- Cooking Pot
- Travel spork
- Toiletries (toothbrush, mini contact solution, small toothpaste, biodegradable soap like Dr. Bronner’s)
- SPIBelt (I keep my phone in this waist belt so I have easy access to it on every hike!)
- Natural Sunscreen (I recommend chemical-free sunscreen that’s better for environment and your body!)
- Hand sanitizer
- Camera (I took my Nikon D800 with a 24-70 mm lens along with a polarizing filter and an extra battery. You definitely need a wide angle lens for this trip!)
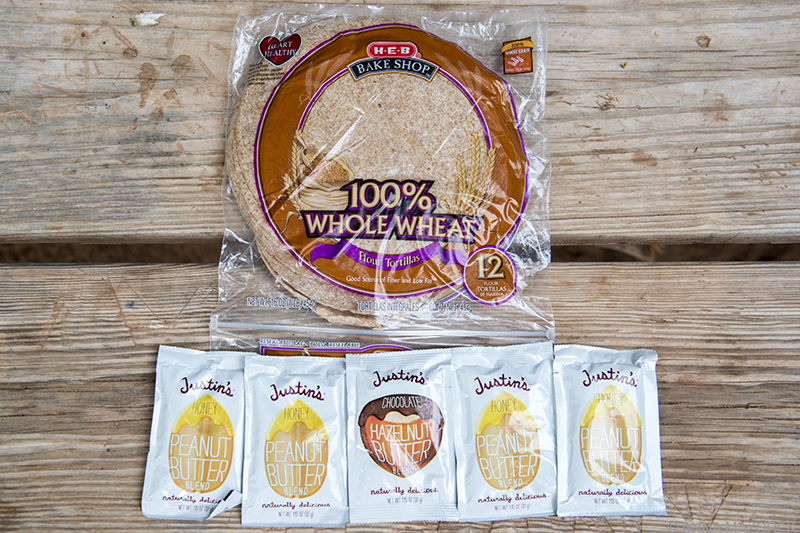
The hiking breakfast of champions: tortillas and honey peanut butter squeeze packs
Food Suggestions:
- 5 honey peanut butter squeeze packs per person and one large pack of tortillas to spilt between everyone (Great for breakfast!)
- 4-6 granola bars per person depending your snacking habits (Rx Bars are the healthiest, but Luna Bars taste better. I took both kinds.)
- Salted nuts (You need the salt.)
- Dehydrated meals (two per day) [REI gives you 10% off if you buy 10 or more]
- 1 pack of Nuun Electrolyte tablets
Follow me on Instagram (@AnnaMazurekPhoto) to see more photos from Havasu Falls!
____________________________________________________
*Please note some Amazon and REI affiliate links are included above. If you click on the link and make any type of Amazon/REI purchase, I earn a small commission with no additional cost to you. I hope you found this post helpful and appreciate your support of the blog. Please email me if you have questions.

